When adding options to your menu, you’ll need icons. There are about 9,000 already available icons (yikes!), so you’ll probably find one that is suitable and is consistent with the UX of Excel. You can also add custom icons. As always code is available on my bit bucket account: https://bitbucket.org/andysprague44/excel-dna-examples/…CustomImage
Built-in icons
You can add a built-in icon to your custom ribbon using the imageMso argument. For example:
<button id="refreshButton" imageMso="RefreshMenu" size="large" onAction="onRefreshMenu" />
How can you see the available icons? The best way is a great excel add-in that allows you to browse the full icon gallery. Install from https://imagemso.codeplex.com/releases/view/116271 – instructions on how to access are in the documentation tab of the same website. The result?

Alternatively there is an online gallery at http://www.spreadsheet1.com/office-excel-ribbon-imagemso-icons-gallery-page-01.html – however, this seems like a subset of the available icons only, and there is no search function.
Custom Icons
You can also add custom icons using the getImage argument. For this you need to
-
- Add an image to your resources
- Add a getImage argument to the element in the customRibbon.xml file
- Add an action handler to serve up your image.
The action is invoked when you first load up the ribbon and the image will appear.
Note that any image is allowed but excel displays small PNG icons style images best – I use http://www.flaticon.com/ to get free icons. A favourite summer holiday snap is not going to render very well.
Add an image to resources
Start by adding the image to a folder called Resources in the project. Then to add the image to the strongly typed resources of the project itself, go to project properties (right click on project in the project Explorer -> Properties), then choose Resources. Add your resource from the top menu using ‘Add Existing File’.

Then, right click on the Resources.resx file and choose ‘Run Custom Tool’ to generate a strongly typed reference Properties.Resources.rugbyimage that we can call in our action handler later on.

Add custom xml element
Add to CustomRibbon.xml:
<button id="RugbyImageButton" label="Rugby" getImage="GetImage" size="large" onAction="OnPressMe"/>
Note that the option is ‘getImage’ as opposed to using ‘imageMso’ when using built in images.
Add action handler
Then you need to add an action handler to serve up your image:
CustomRibbon.cs:
public Bitmap GetImage(IRibbonControl control)
        {
            switch (control.Id)
            {
                case "RugbyImageButton": return new Bitmap(CustomImage.Properties.Resources.RugbyImage);
                default: return null;
            }
        }
Using the switch on the ID of the element allows us to easily add multiple images in the future using the same action handler.
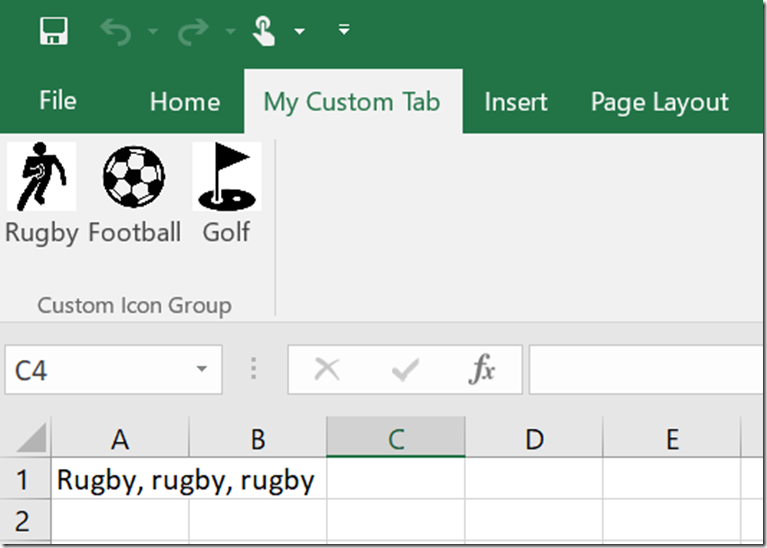
This is the final result!


Muchas gracias amigo!!! 🙂
LikeLike